Objective
The developer portal section of this lab is split into 3 parts, which must be followed in order since each part builds upon the previous part. From a high level, the 3 parts are:
- Set up API Connect (lab 0 in the PoT)
- Perform the basic developer portal customisation lab (Part 1.1 in this lab)
- Perform the advanced developer portal customisation lab (Part 1.2 in this lab)
Before you begin
Lab 0 - Setup IBM API Connect must be completed before this lab can be performed.
Step by Step Lab Instructions
1.1 - Basic Developer Portal Customisation
In this section, you will leverage a custom prebuilt theme. A theme file is packaged as a zip file that contains a set of predefined files. The theme zip file is what is loaded into the developer portal. The best method for creating a custom theme is to obtain an existing custom theme, rename it and change the files as explained in the table below to meet your customization needs.
| Filename |
Description |
overrides.css |
This style sheet overrides the fonts, colors and other defaults from the inherited base IBM API Connect theme. The name of this css file is specified in the theme.info file. |
screenshot.png |
The file contains a screenshot of the home page for the custom theme and is used in the appearance settings so you can easily find the theme you want to enable and set as the default theme. When you are finishing completing the edits to the overrides.css and have set up the welcome banner to your satisfaction, you should take a screen shot of the developer portal home page and capture it with Snagit or some other screen capture tool and place the file in the top level directory of the theme file. The name of this screenshot file is specified in the theme.info file. |
templete.php |
The template.php file contains your sub-theme’s functions to manipulate Drupal’s default markup. It is one of the most useful files when creating or modifying Drupal themes. With this file you can modify any theme hooks variables or add your own variables, using preprocess or process functions. Override any theme function: that is, replace a module’s default theme function with one you write. Call hook alter functions, which allow you to alter various parts of Drupal’s internals, including the render elements in forms. See http://api.drupal.org for more information about these functions. |
thinkibm_connect_theme.info |
The .info file is a static text file for defining and configuring a theme. Each line in the.info file is a key-value pair with the key on the left and the value on the right, with an “equals sign” between them (e.g. name = my_theme). The info file naming conventions needs to have the theme name specified as part of the filename. The project key in the .info file contains the name of the theme. |
theme-settings.php |
Drupal themes get a number of configurable settings options for free. For example, most provide toggle switches for the search box, site slogans, user pictures, and so on. Similarly, most provide file uploading widgets to add a custom logo or favicon. These settings are easy: Drupal will add them to the theme’s configuration page by default, so it takes no extra work. We want to create our own custom setting, however; one that adds a hidden field that contains the current release information to the Theme configuration form. To do that, we’ll need to add a new file to the theme: theme-settings.php. The function name specified within this file needs to be prefixed with the theme name: thinkibm_connect_theme. |
thinkibm_welcome_banner.png |
This file provides the image that shows up in the welcome banner. Although the welcome banner does not need to be part of the theme zip file contents, it is useful to place the welcome banner with other theme files. |
favicon.ico |
In web development, you can provide a small logo for your site that appears near the address bar and in the bookmarks folder in a visitor’s browser. This logo is called the favicon. Drupal provides a default one, which is the recognizable water drop logo. Using the Drupal logo as the favicon is fine but if you really want to make your site stand out, you should provide your own. Favicon files are in the .ico format and are extremely small in dimensions. The default Drupal favicon is 32 pixels high by 32 pixels wide, many browsers use a 16 x 16 pixel version that can be included in the same file. This is because the favicon is only an icon that shows up in the address bar and favorites (bookmarks) list and typically there is not a lot of room there. Any favicon that you create should be just as small. |
logo.png |
The default logo that appears at the top left-hand side of the developer portal page. |
Now that we have explained the contents of a custom theme file, it is time to load the custom theme.
-
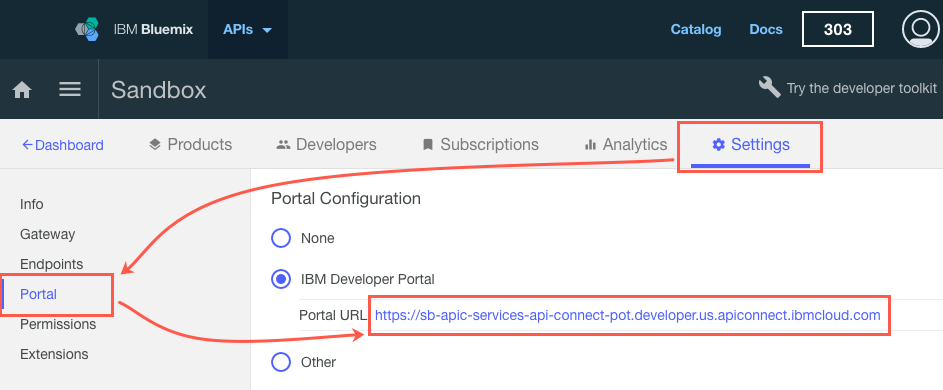
Return to the Bluemix API Manager screen.
Navigate to the Dashboard section and click on the Sandbox catalog tile.
Choose the Settings tab, followed by the Portal option.
Click on the Portal URL link to launch the Developer Portal.
-
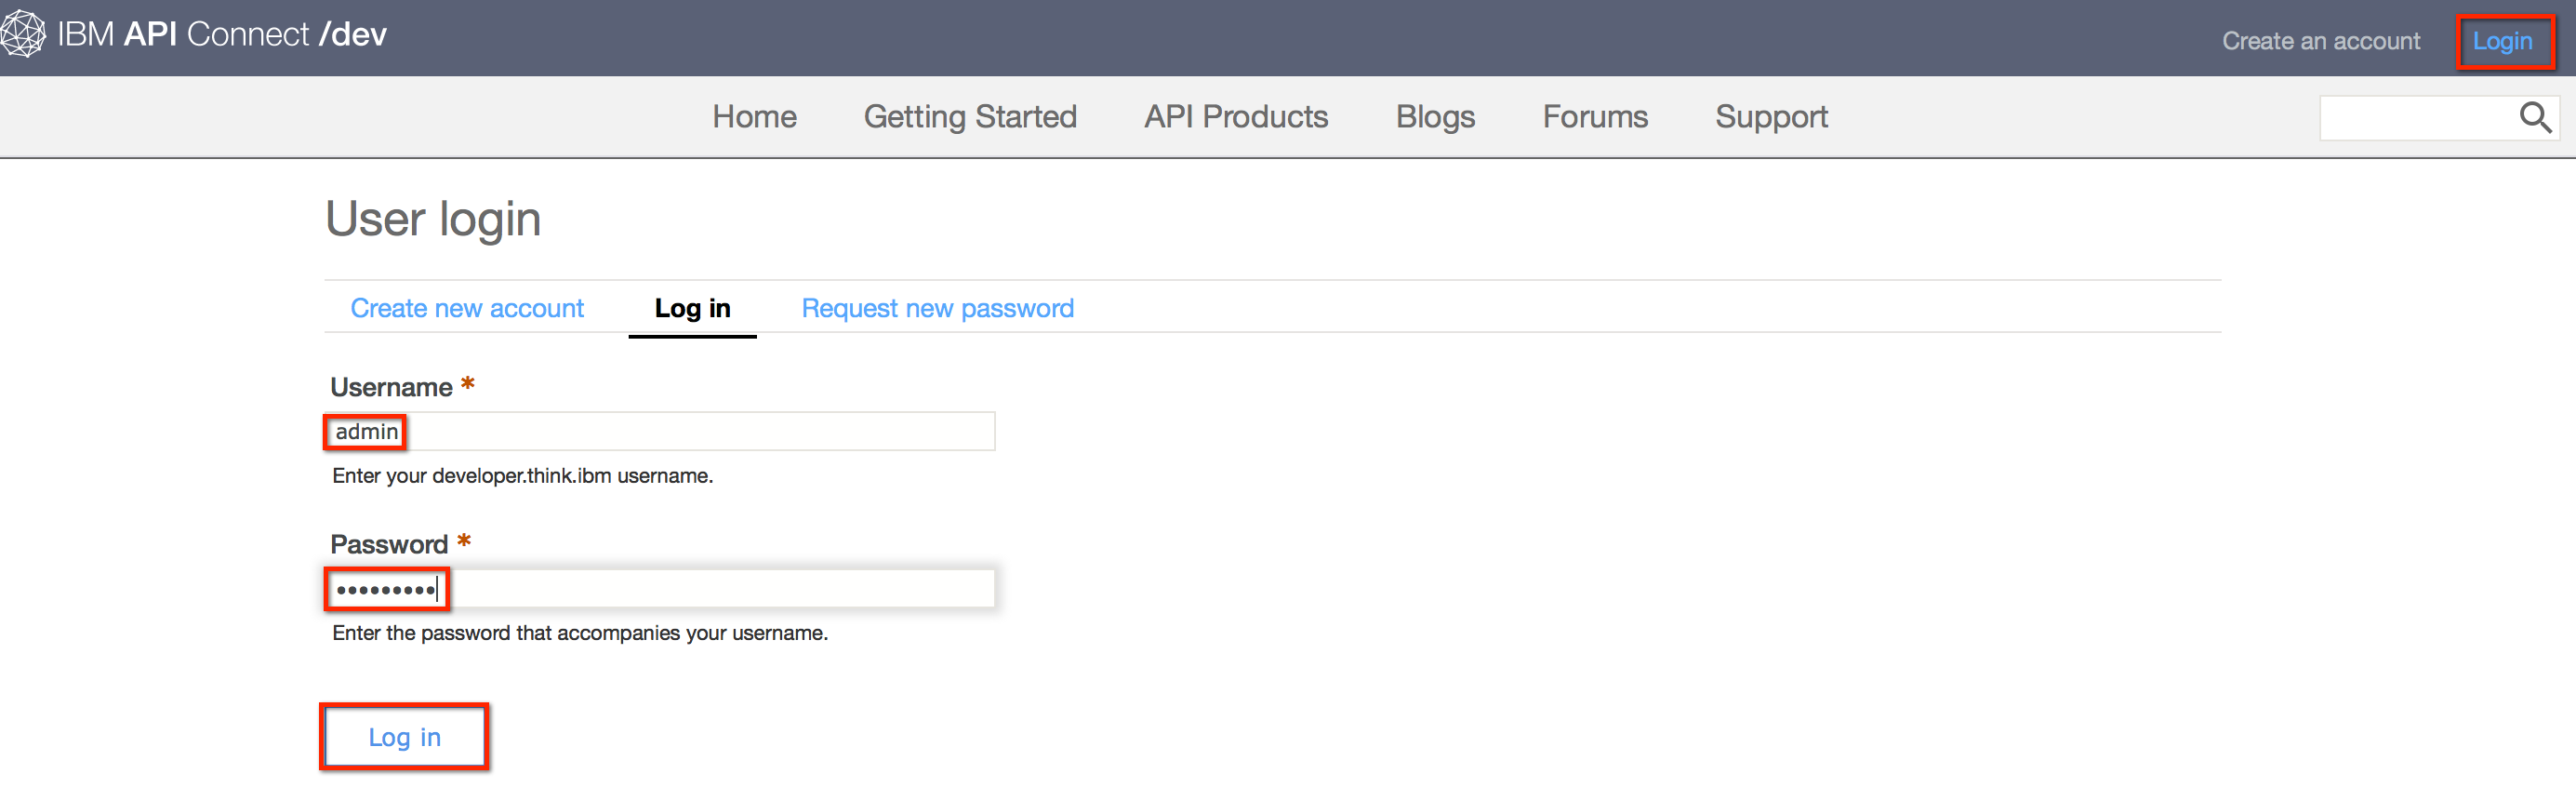
Login into the developer portal as an administrator using a username of admin and the password you set up in Lab 1.
-
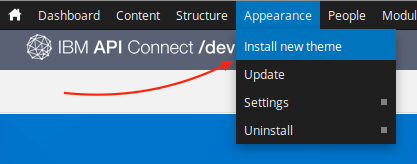
From the Administrator menu, select Appearance and then Install new theme.
-
In the Install from a URL field, enter the following URL then click the Install button:
https://ibm-apiconnect.github.io/faststart/assets/lab7/portal-theme.zip
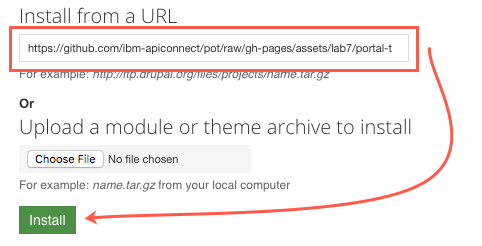
Important:
If the ‘Install from a URL’ does returns an error, please download the zip file for the theme to your local computer. Use the ‘Upload a module or theme archive to install’ to upload the zip file for the theme.
-
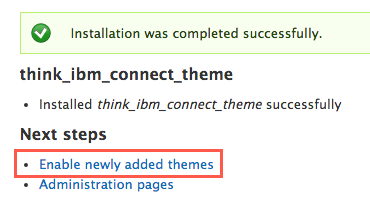
Once the installation of the custom theme completes, click the Enable newly added themes link.
-
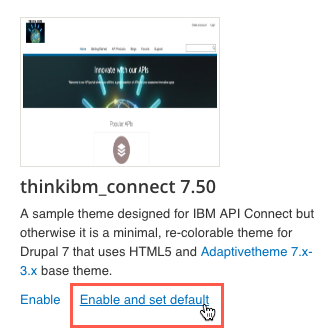
Scroll down the list of themes to find the thinkibm_connect 7.53 theme.
Click the Enable and set default link link.
-
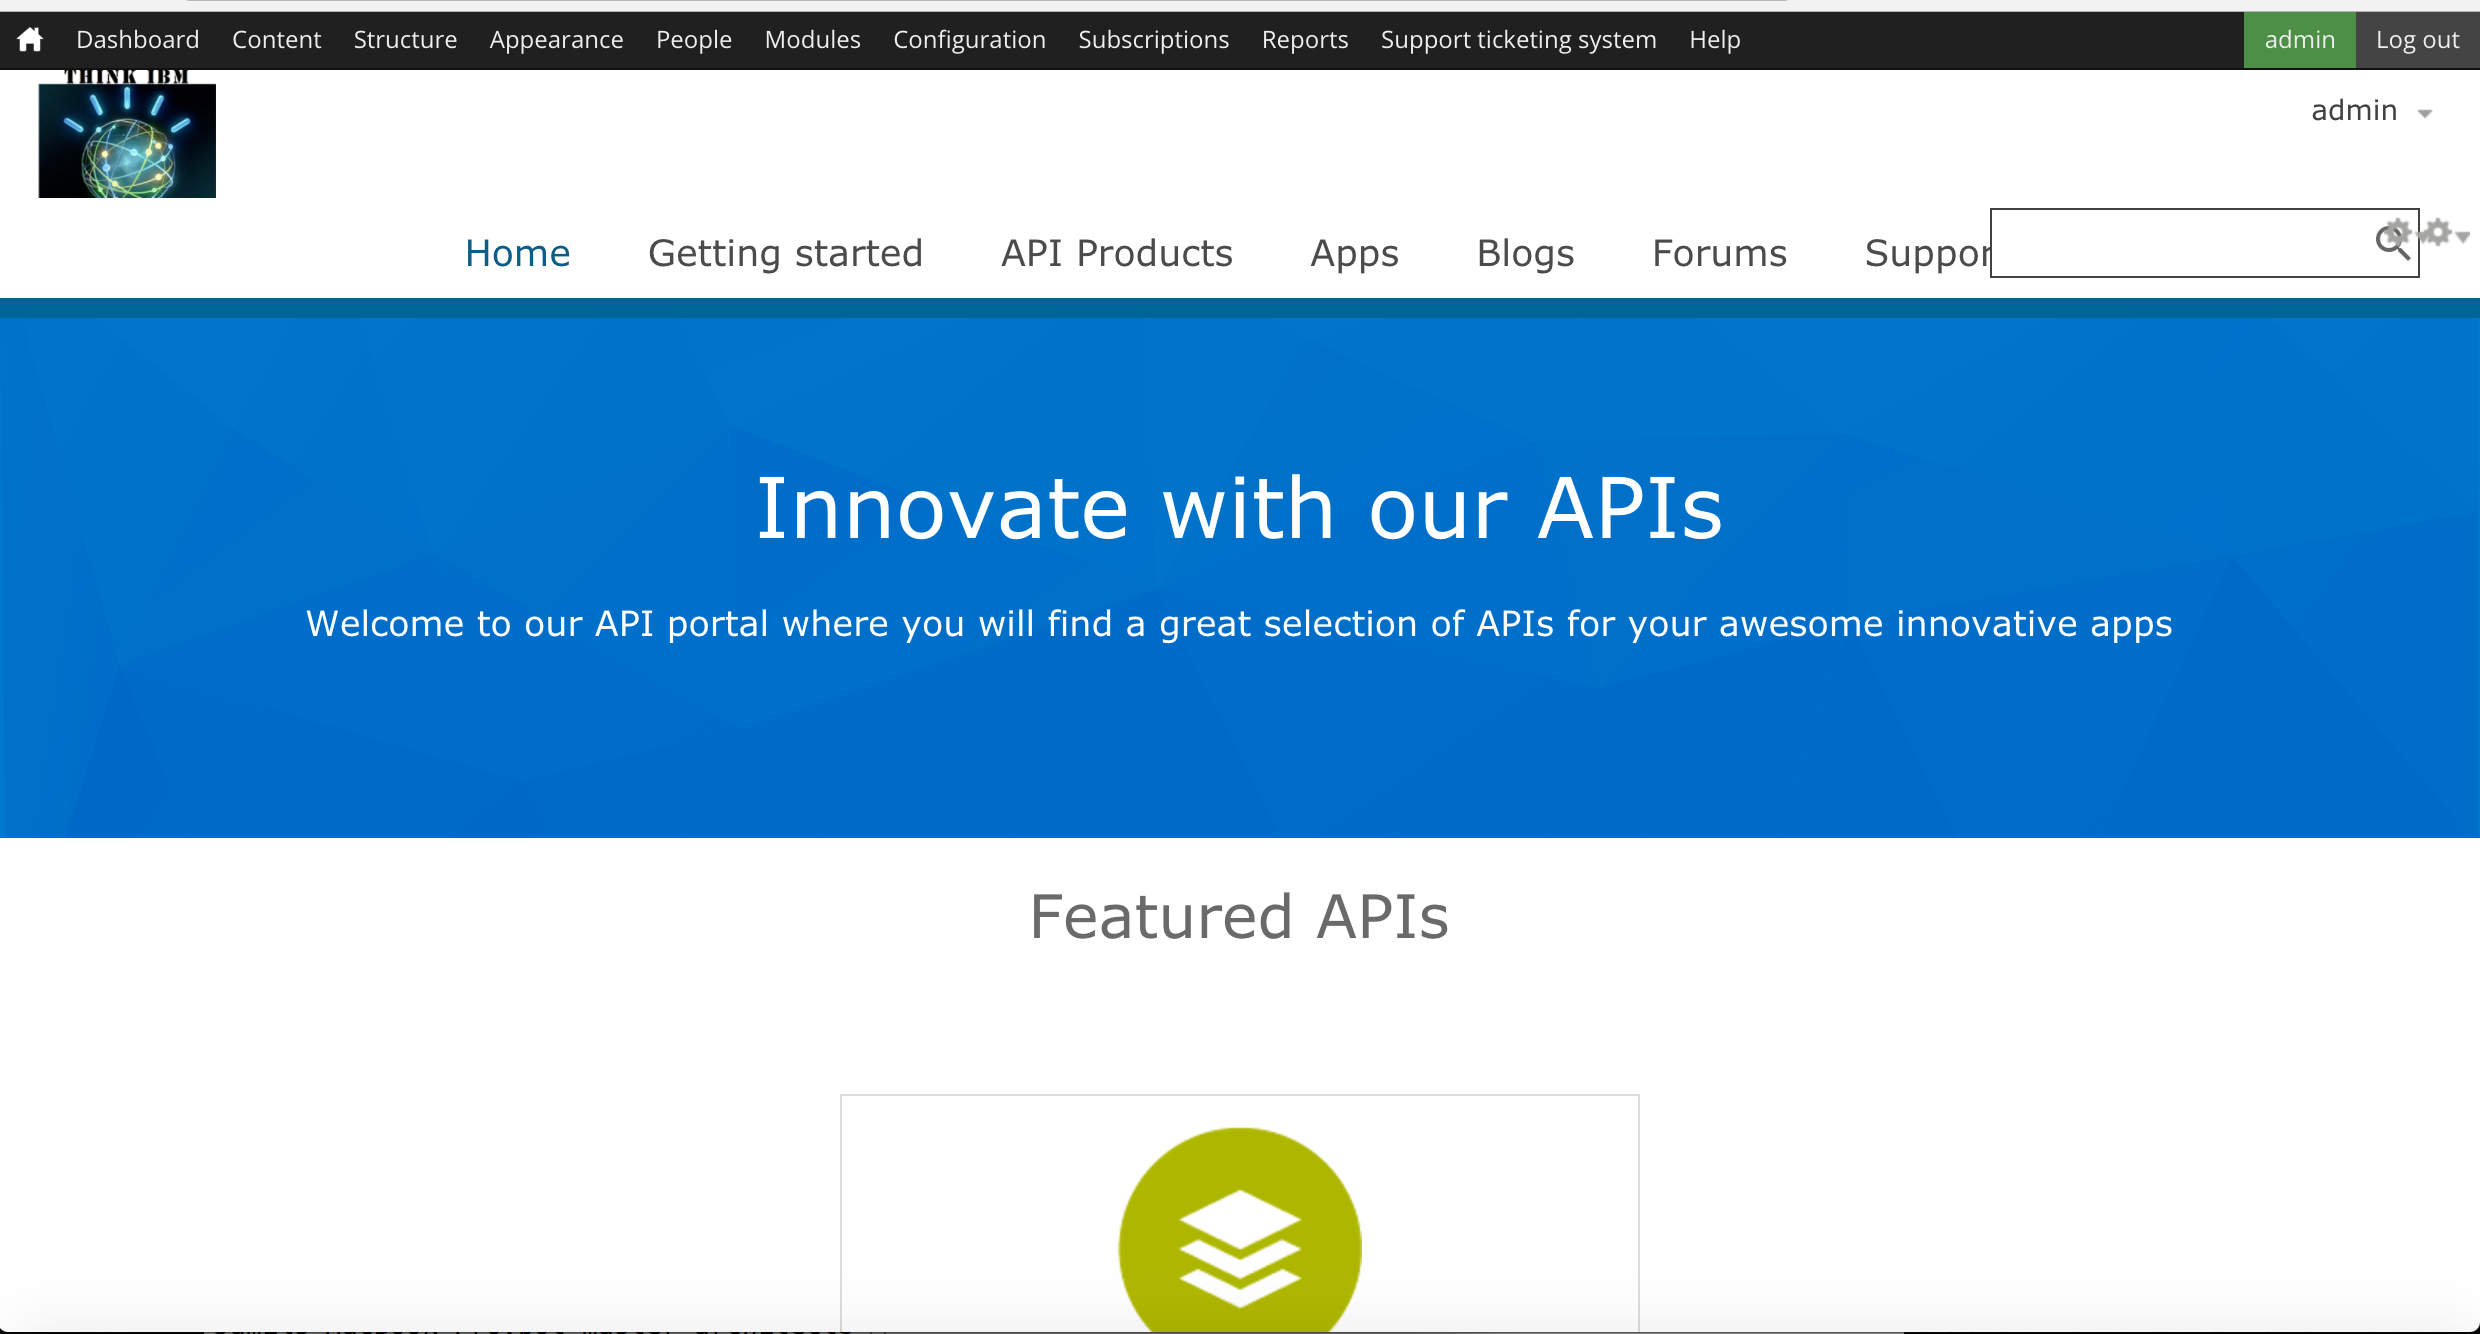
Click the Home icon in the top-left corner of the screen to return to the home page.

-
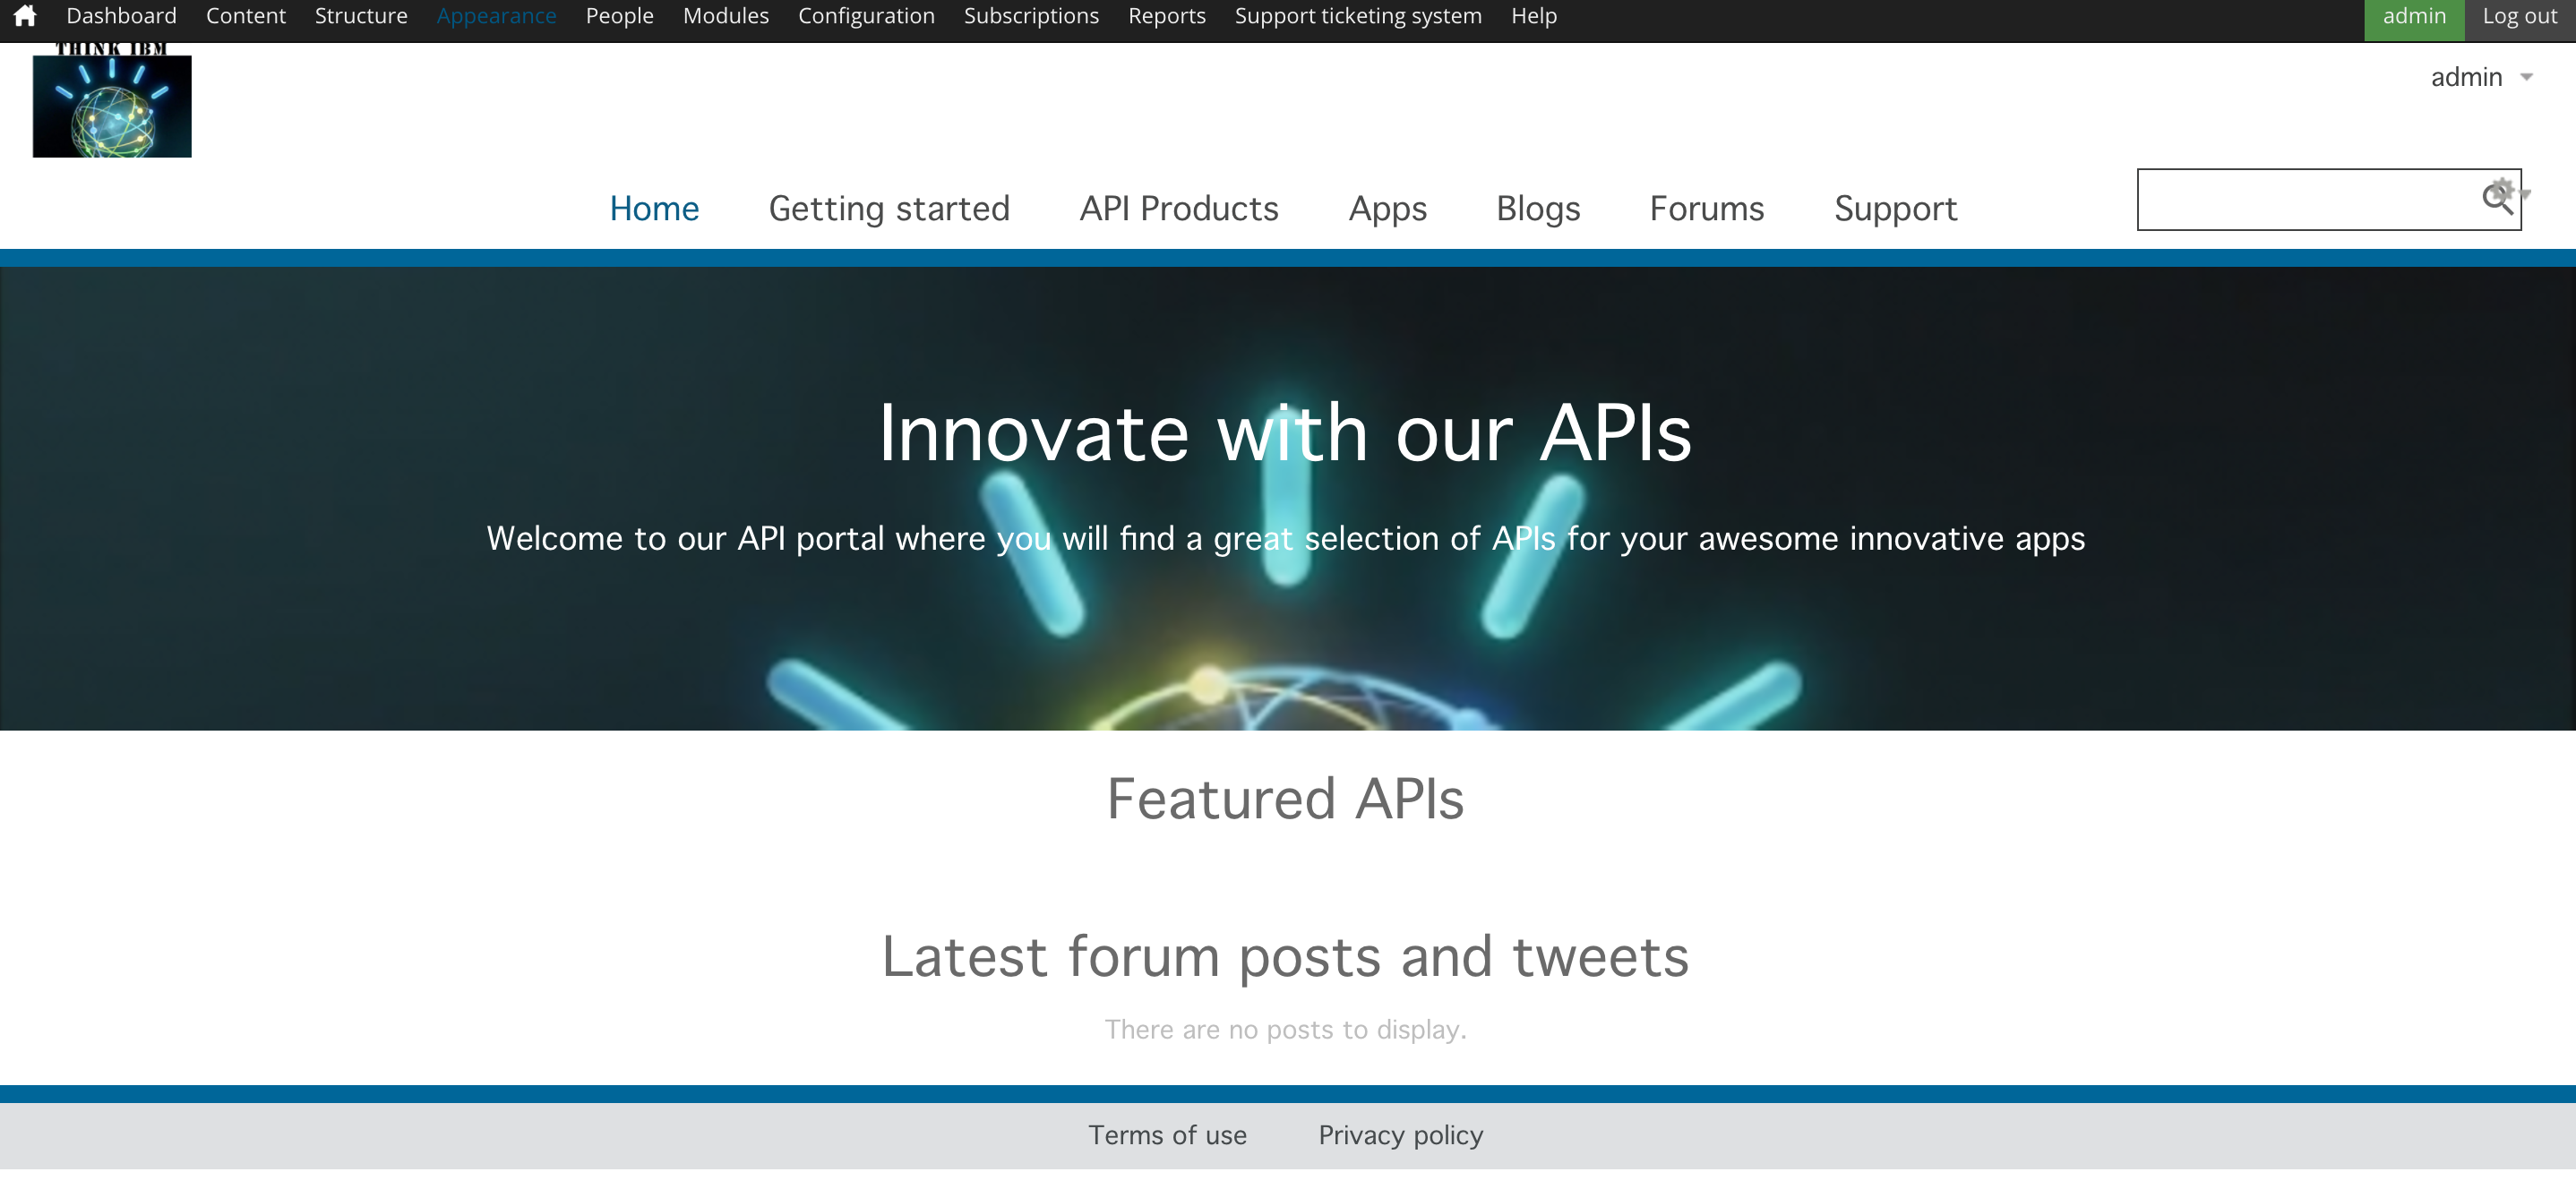
After returning to the Home Page of your Developer Portal, it should look like the image below.
1.1.2 - Customize the Welcome Banner
Now we want to change the default Welcome banner to use our custom Welcome banner image.
-
Navigate to the blocks content page by selecting Content > Blocks from the admin menu.

-
Underneath operations select Edit to the right of the Welcome banner block.

-
Before you can set the image, you will need to download it to your local computer’s disc drive. You can download the file from this URL:
https://thinkibm-services.mybluemix.net/portal/welcome-banner.png
-
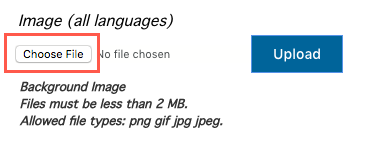
Scroll down the banner edit page, locate the Image section and click the Chose file button to launch the file explorer.
-
Find the welcome-banner.png file. Then, click the Open button.
-
Click the Upload button to upload the new welcome banner image.
-
Scroll to the bottom of the page and click the Save button.
-
Click on the x button to close the content block settings.
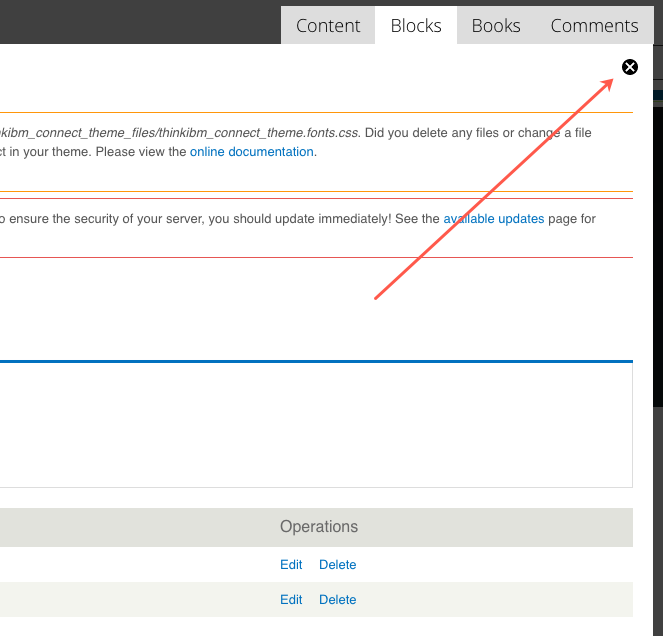
-
After returning to the Home Page of your Developer Portal, it should look like the image below.
1.1.3 - Change the Region Settings for the Content Blocks
The region settings for some of the content blocks were reset when we loaded the new theme, so we will set these back.
-
Navigate to the region settings for block content page by selecting Structure > Blocks from the admin menu.

-
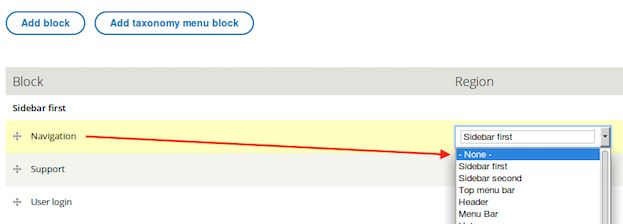
Locate the Sidebar first block. You will see entries for Navigation, Support and User login.
-
For both the Navigation and User Login entries, select - None - from the drop down menu.
-
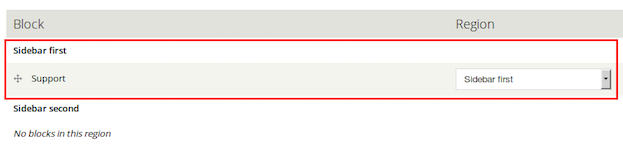
The only entry left in the section should be Support.
-
Scroll down to the bottom of the screen anc click the Save Blocks button.

-
Scroll back to the top and click the x button to close the block region settings.
-
You are finished with customizing the developer portal. There is a lot more that can be customized than what we have time for in this lab.

1.2 - Advanced Developer Portal Customisation
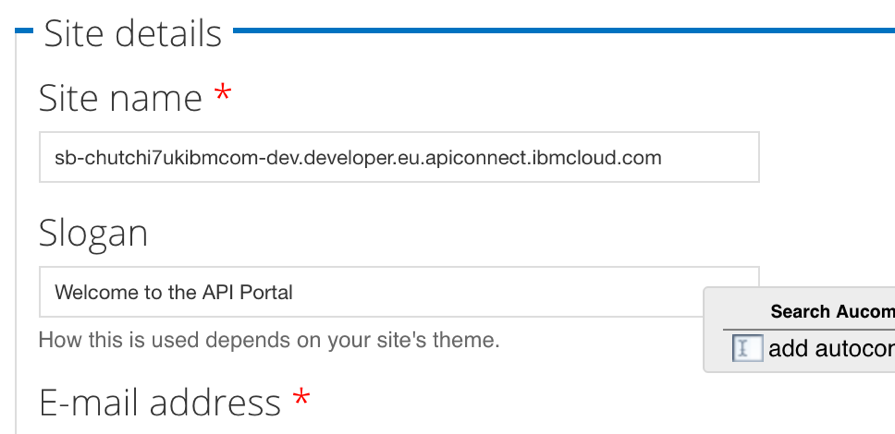
Adding the Slogan
- Click Configuration > System > Site Information
-
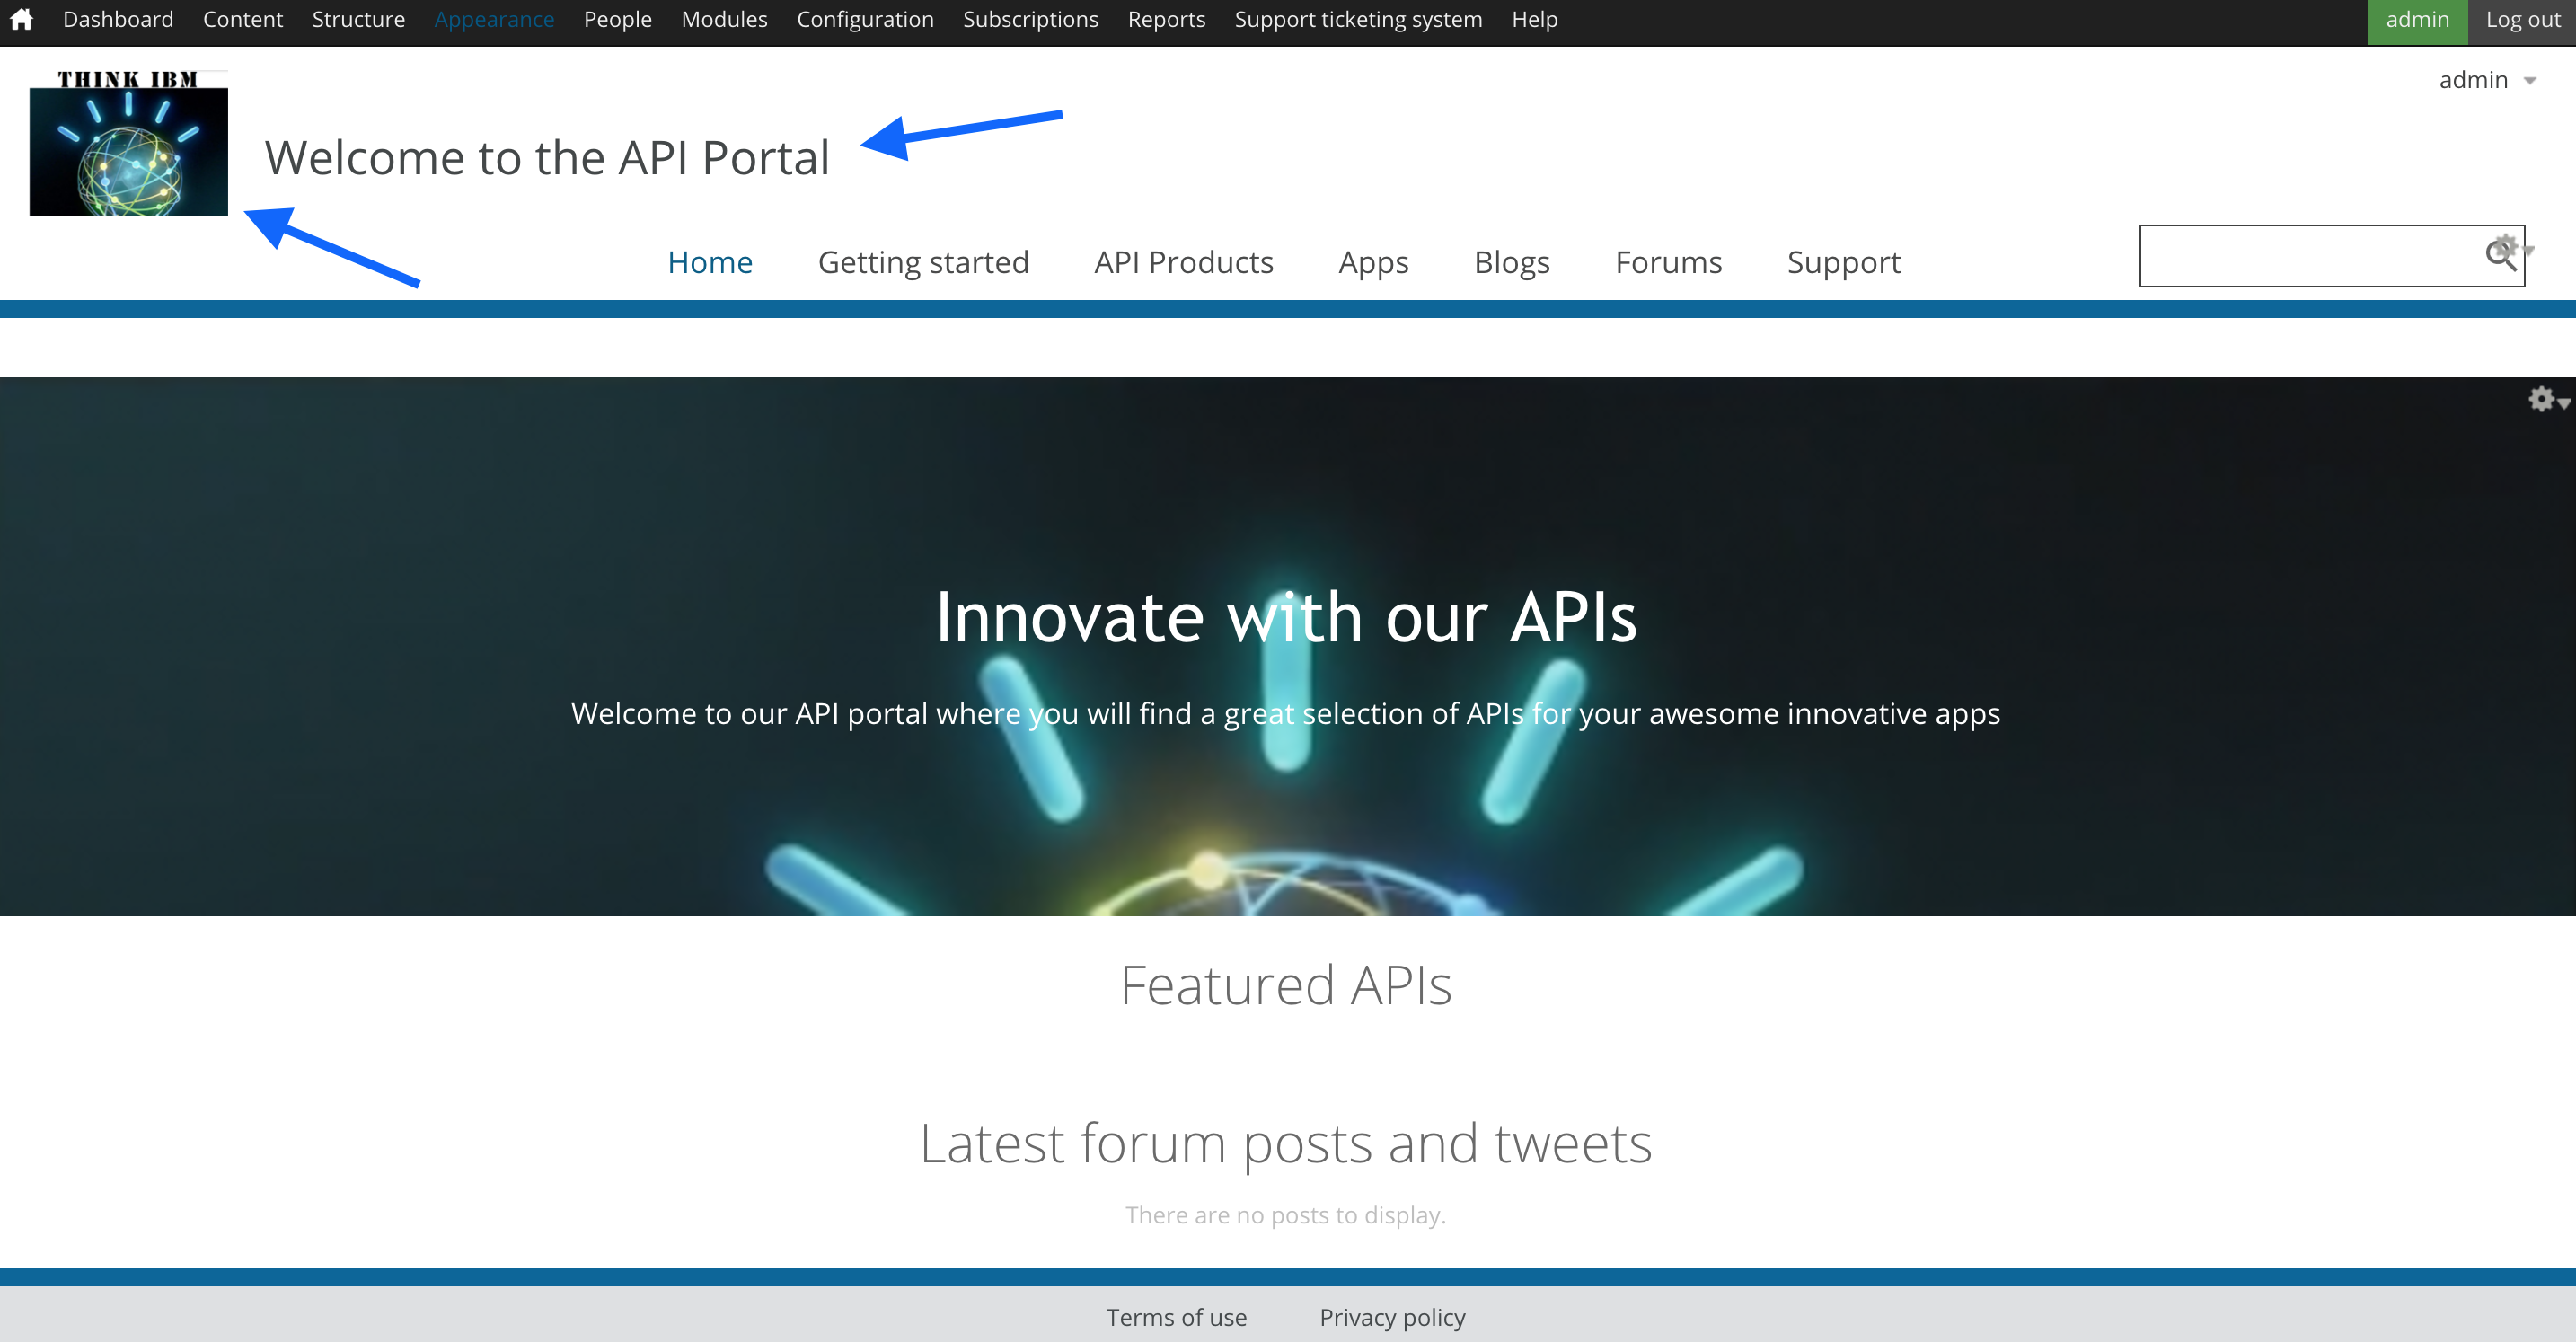
In the ‘Slogan’ field enter: ‘Welcome to the API Portal’
-
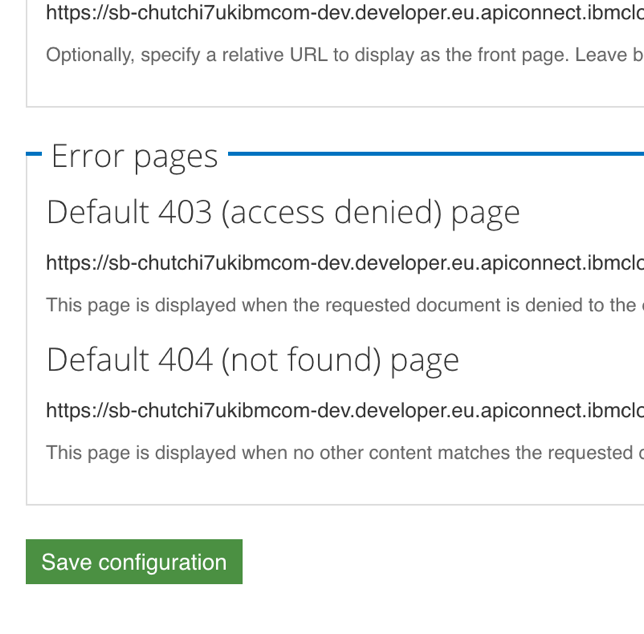
Save the configuration
-
Close the current window

-
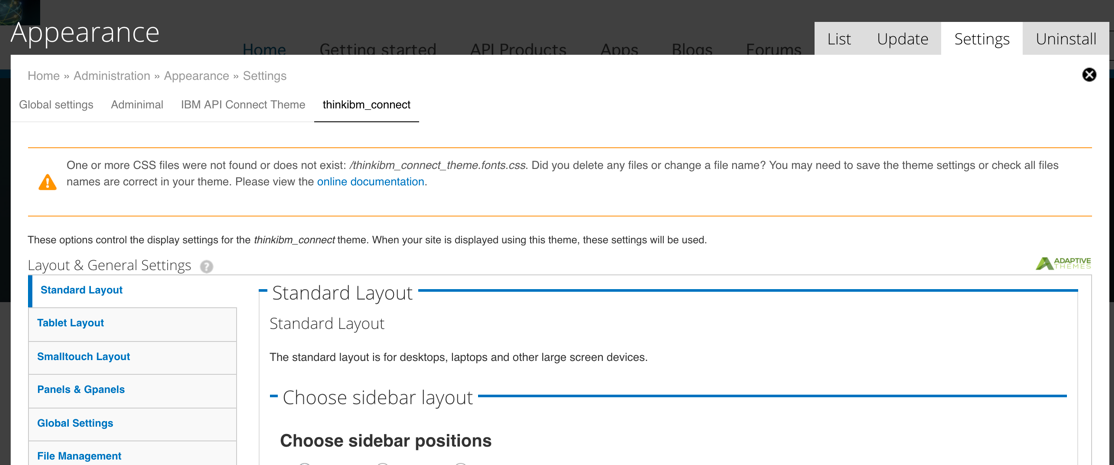
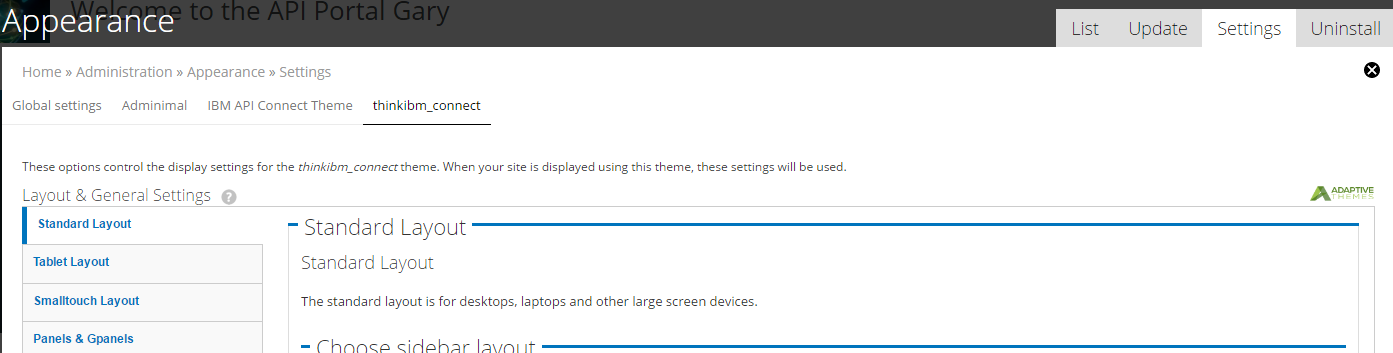
Click Appearance > Settings
-
Navigate to the thinkibm_connect theme settings
-
Expand the Toggle display section and check the box for ‘Site Slogan’
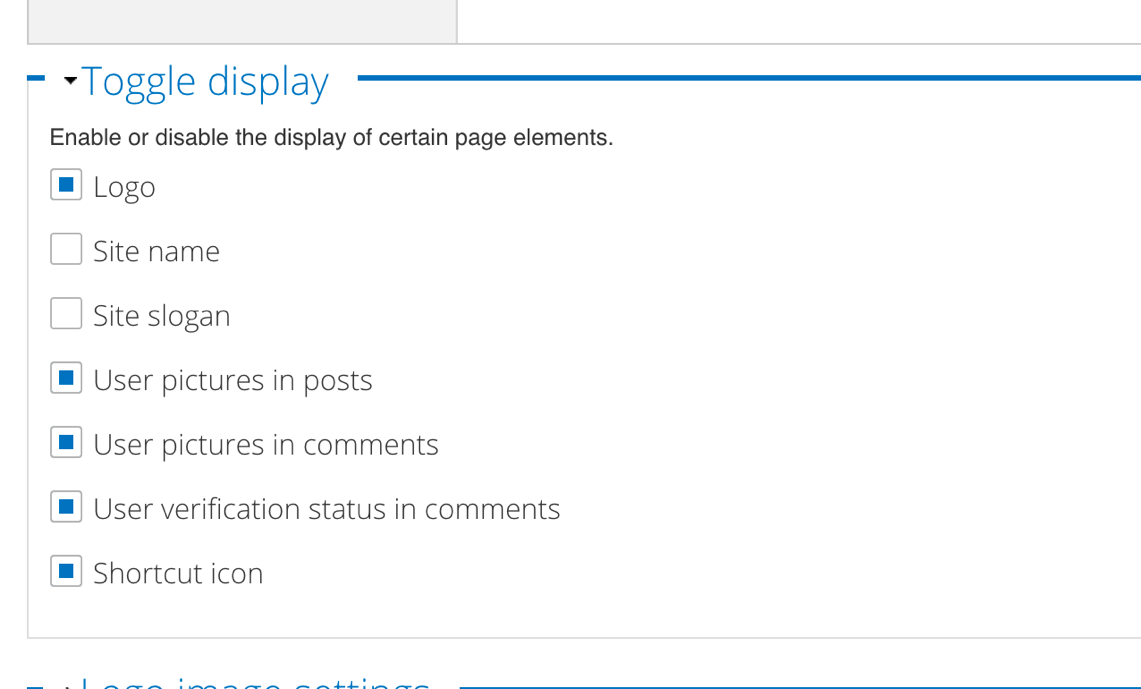
-
Save the configuration
- You will notice that you will not be able to see any changes. This is because the color scheme of the slogan is set to white text on the white background.
Colour Schemes and Custom CSS
Here we are going to add custom CSS to our theme. For this we are going to use the ‘Custom CSS’ extension in the developer portal. Note the ‘Custom CSS’ extension is designed to make small CSS changes in the case of emergencies in production. However, the ‘Custom CSS’ extension is also useful to quickly make CSS changes at development time when you are building the look and feel of a developer portal. It saves the need to re-upload the theme every time a new CSS change is made throughout development. Once you are happy with the CSS and it is stable, it should be moved from the ‘Custom CSS’ extension and placed inside the overrides.css file inside the theme itself.
-
To activate the ‘Custom CSS’ extension go to Appearance > Setting > thinkibm_connect > Extensions > Check box ‘Custom CSS’.
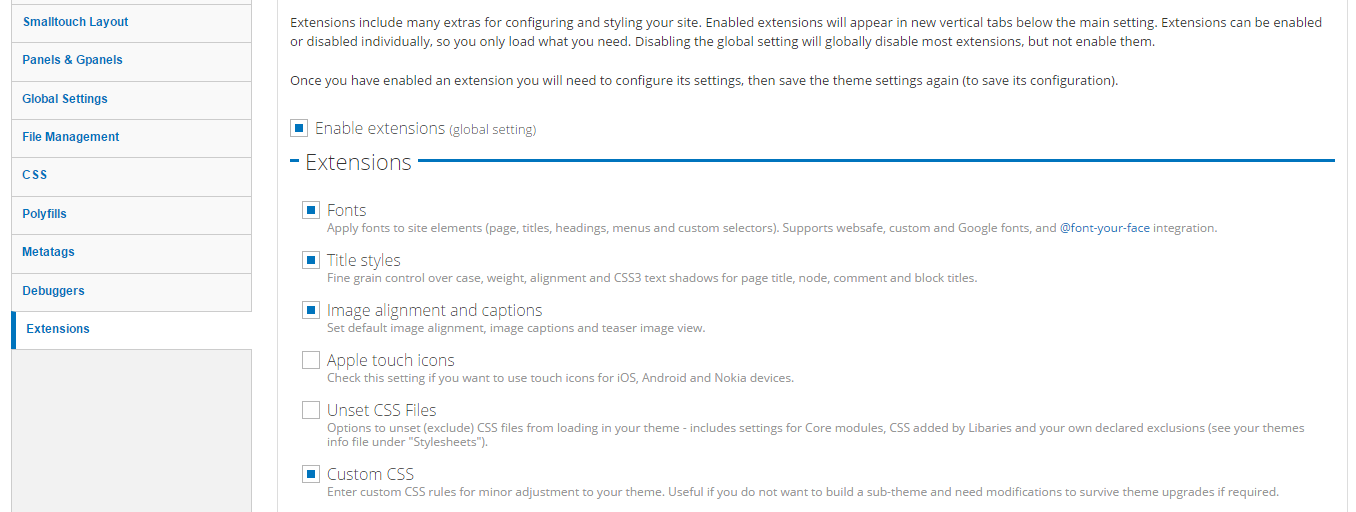
- Save the changes by clicking ‘Save Configuration’ at the bottom of the page.
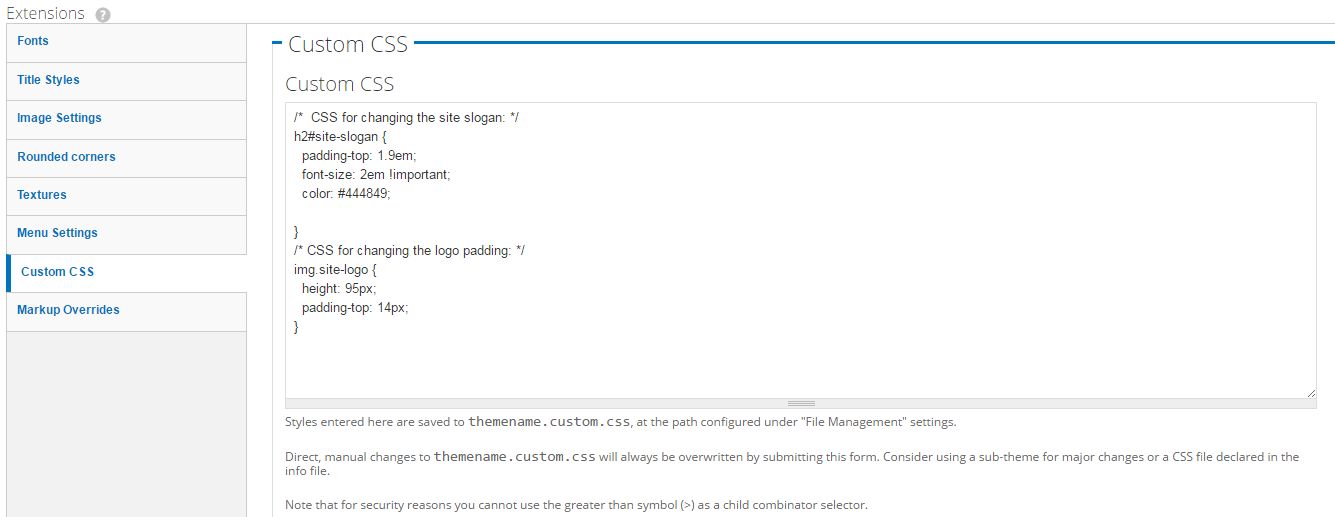
- Now if you go to Appearance > Setting > thinkibm_connect then scroll down to the menu at the bottom (extensions), there will be a new menu tab called ‘Custom CSS’. In here, any custom CSS declarations can be set.
-
Inside the custom CSS editor area, copy the flowing 2 CSS declarations:
     /*  CSS for changing the site slogan: */
        h2#site-slogan {
          padding-top: 1.9em;
          font-size: 2em !important;
          color: #444849;

        }
        /* CSS for changing the logo padding: */
        img.site-logo {
          height: 95px;
          padding-top: 14px;
        }

    /* Adjusts the menu bar: */
    #page
    {
       padding-top: 100px;
    }
- Now scroll to the bottom of the page and hit ‘Save Configuration’.
-
Scroll to the top and hit the X to close the Appearance menu and view the changes you have made.
-
After returning to the Home Page of your Developer Portal, it should look like the image below.
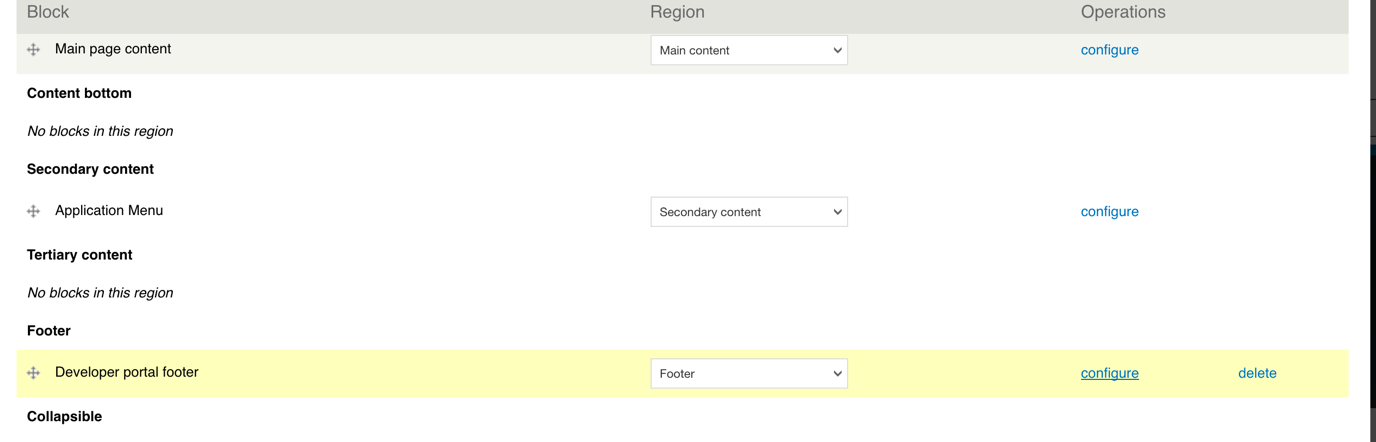
- Click ‘Structure’ > ‘Blocks’
-
Click configure on the ‘Developer portal footer’ block
-
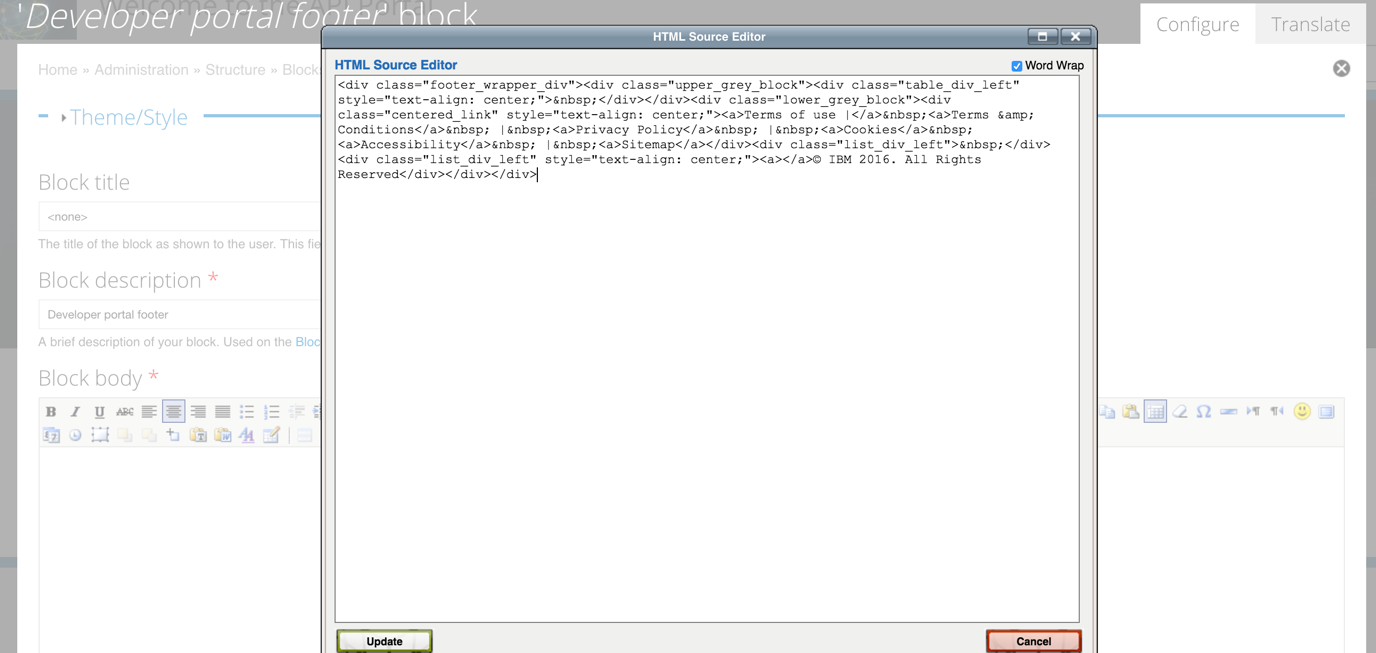
Open the wysiwyg (button with html on it) editor and paste in the contents below.
<div class="footer_wrapper_div"><div class="upper_grey_block"><div class="table_div_left" style="text-align: center;"> </div></div><div class="lower_grey_block"><div class="centered_link" style="text-align: center;"><a>Terms of use |</a> <a>Terms & Conditions</a> | <a>Privacy Policy</a> | <a>Cookies</a> <a>Accessibility</a> | <a>Sitemap</a></div><div class="list_div_left"> </div><div class="list_div_left" style="text-align: center;"><a></a>© IBM 2016. All Rights Reserved</div></div></div>
- Click Update
-
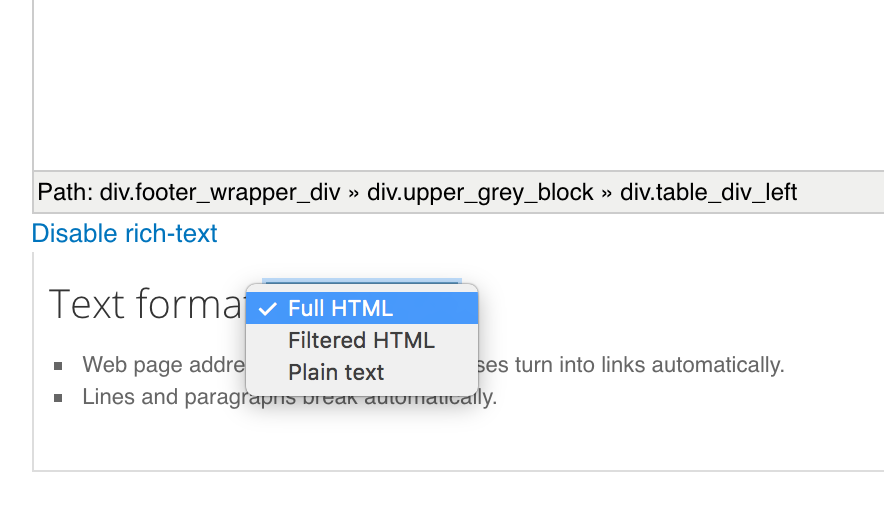
Select ‘Full HTML’ from the ‘Text Format’ drop down
-
Save the block from the footer of the page
-
Close the window and view the changes made to the footer.
-
The footer should look like the image below.

Adding a Custom Block to the Home Page
- Click Structure > Pages
- Click ‘edit’ on the ‘page-welcome’ page (towards the bottom of the list)
-
Click ‘content’
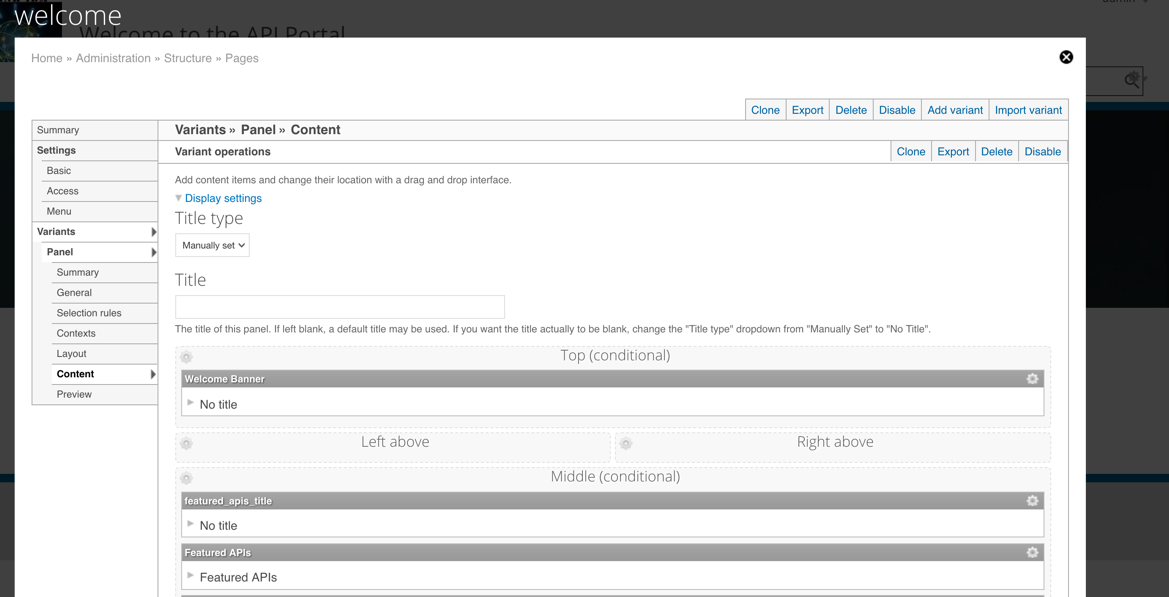
-
Using the cog on ‘Middle (conditional)’ select ‘Add content’.
-
Click Custom Blocks.
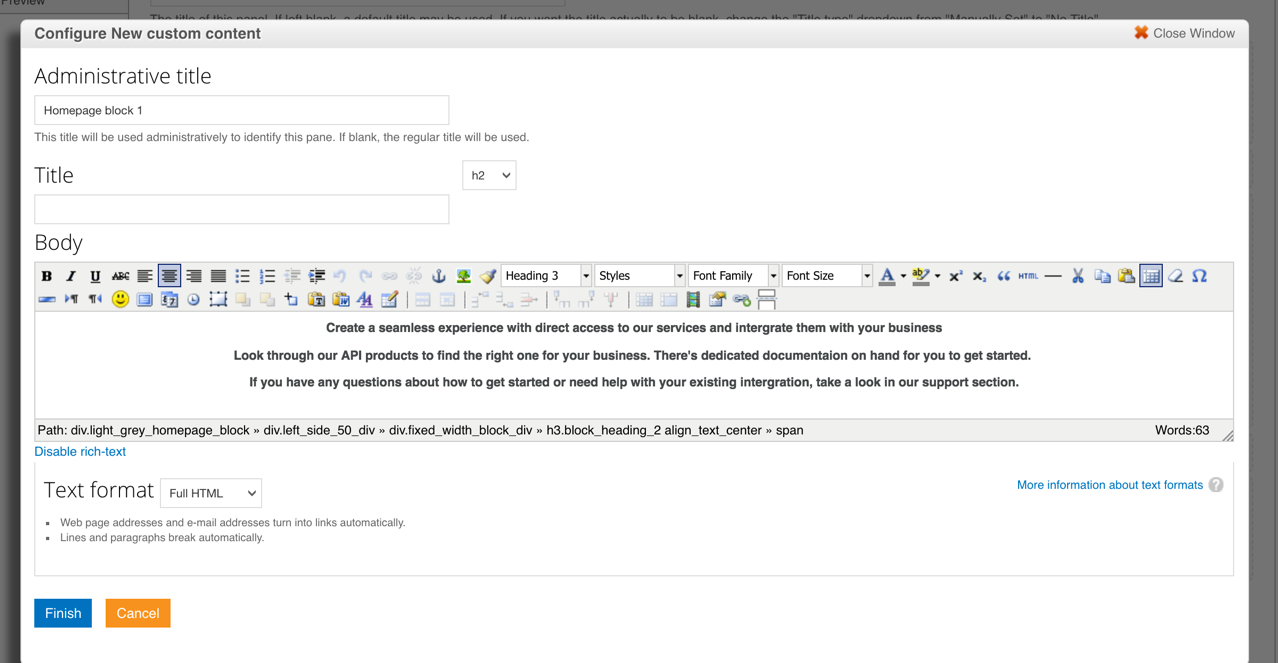
- Click on ‘New Custom Content’ and set:
- Administrative Title: Homepage block 1
- Title: leave blank
-
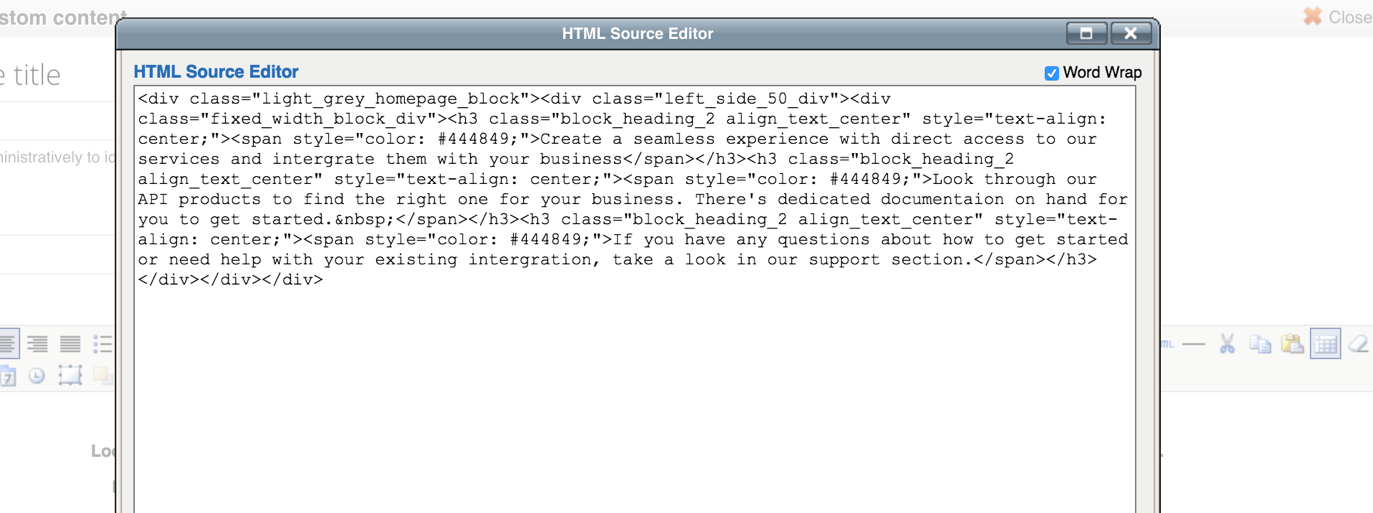
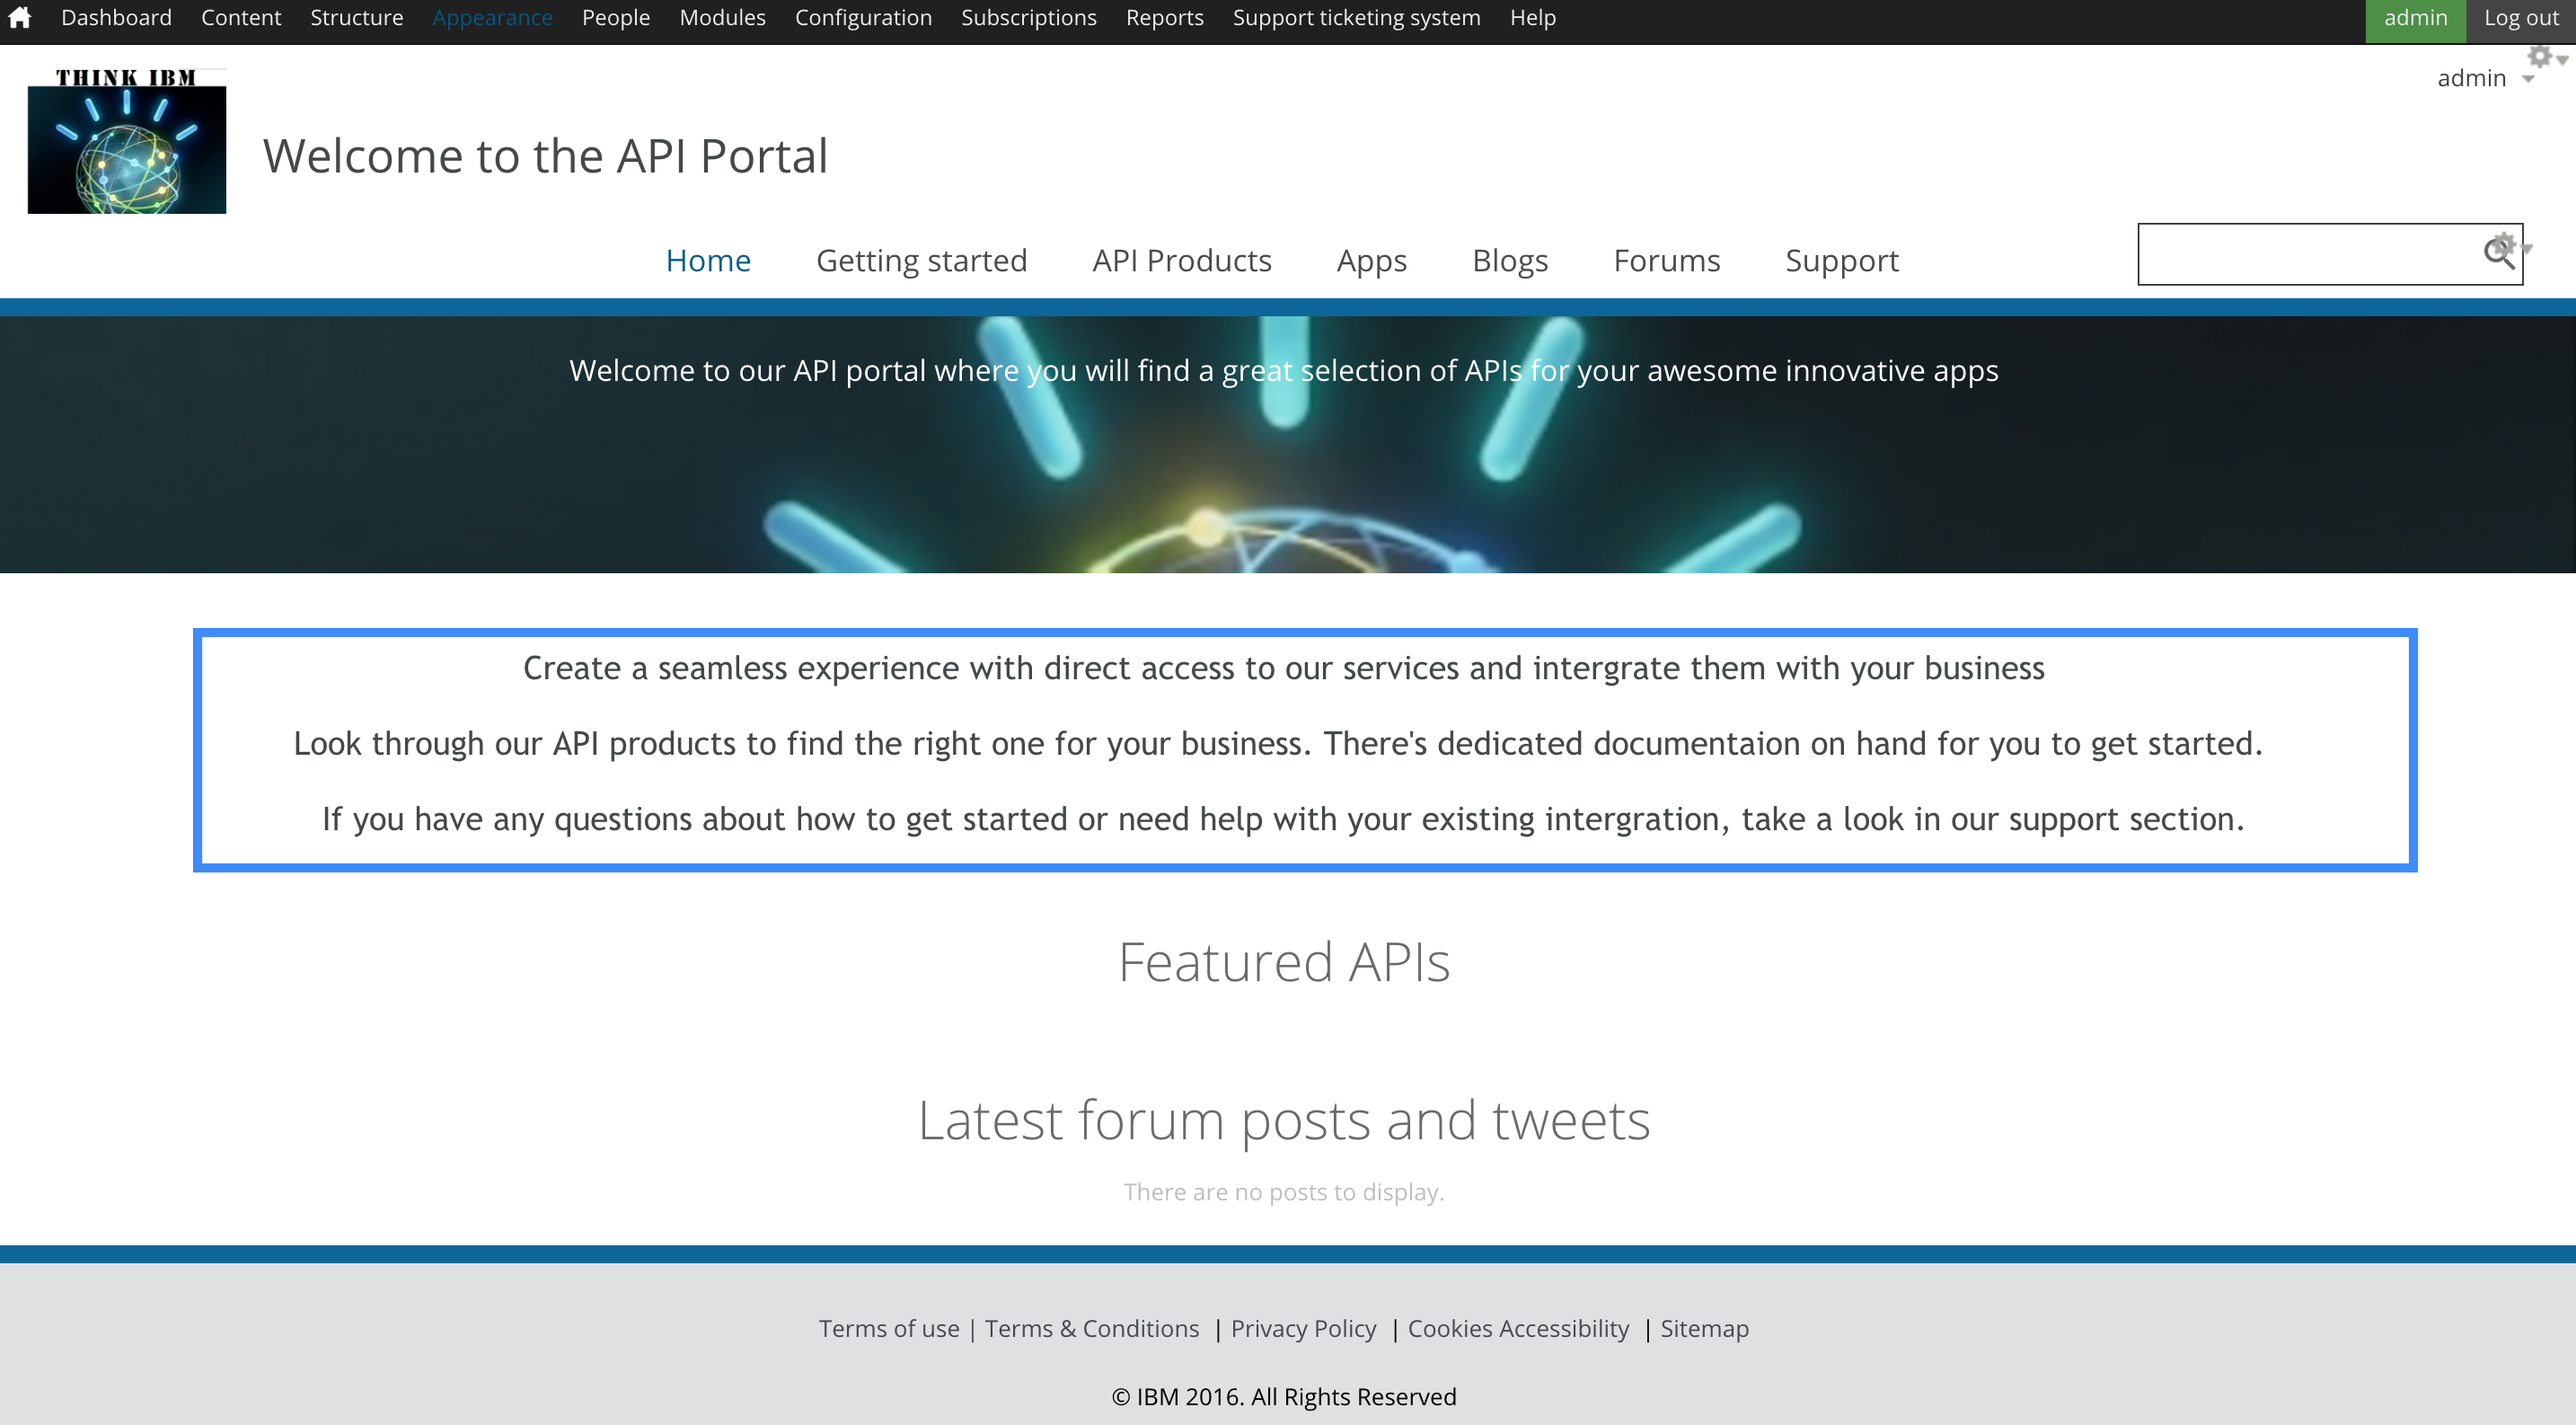
Click on the html button and add in the following html to the body
<div class="light_grey_homepage_block"><div class="left_side_50_div"><div class="fixed_width_block_div"><h3 class="block_heading_2 align_text_center" style="text-align: center;"><span style="color: #444849;">Create a seamless experience with direct access to our services and intergrate them with your business</span></h3><h3 class="block_heading_2 align_text_center" style="text-align: center;"><span style="color: #444849;">Look through our API products to find the right one for your business. There's dedicated documentaion on hand for you to get started. </span></h3><h3 class="block_heading_2 align_text_center" style="text-align: center;"><span style="color: #444849;">If you have any questions about how to get started or need help with your existing intergration, take a look in our support section.</span></h3></div></div></div>
-
Click update on the html source editor
-
Click finish.
-
Drag the Homepage block 1 that you just created to the top of the middle section (above the features_apis_title block). This will position this new section on the page underneath the welcome banner.
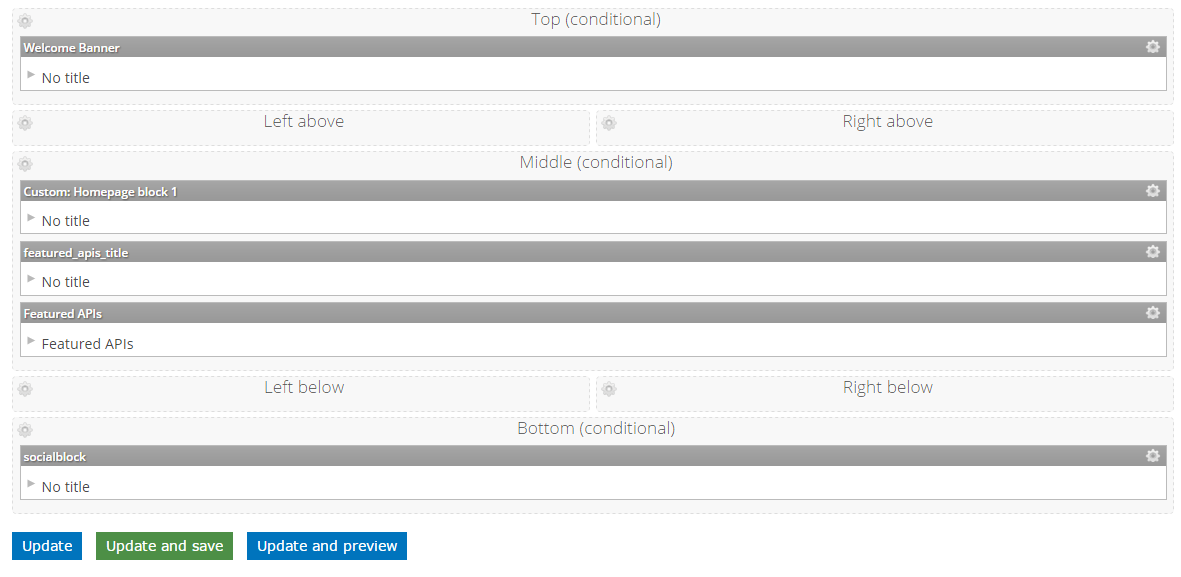
-
Click ‘Update and Save’.
-
Close the welcome screen admin menu to see the results on the home page of the Portal. Refer to the image below
Remove text on the Banner Image
- Click ‘Content’ > ‘Blocks’.
- On the ‘Welcome banner’ click edit.
- Click on the html button and edit the html source to remove the text in the HTML which read ‘Innovate with our APIs’.
- Click update in the HTML source editor.
- Scroll down and save the configuration.
- Close the content editor to see the results on the home page
Note:
If you are finding the text is not disappearing from the banner, it may be due to another language other than English is set as default. Try repeating this section but go into the translations of the block and remove the HTML from the English version of the block specifically.
Conclusion
Congratulations! You have customised your first Developer Portal!
Proceed to Lab 2 - Protecting a Payments API using oAuth 2.0