- Create dynamic end-to-end REST APIs with little or no coding.
- Access data from Relational and NoSQL Databases, SOAP and other REST APIs.
- Incorporates model relationships and access controls for complex APIs.
For more information on LoopBack, browse the http://loopback.io/ website.
Launch the API Connect Toolkit
-
From the command line terminal, launch the API Connect Toolkit by issuing the following command:
apic edit -
If this is your first time launching the toolkit, you may be asked to accept the licensing terms and sign in with your Bluemix account.
-
Click on the menu icon in the top left-hand corner of the screen to expand the menu.
-
Locate the
Projectsoption and click on the+icon to create a new project. -
Choose the
Create Loopback Projectoption.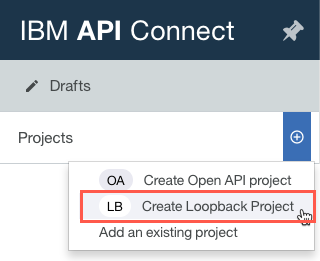
-
Complete the form to name your new microservice application and set its project folder:
Project Template:
empty-serverLoopback Version:
2.x - long term supportDisplay Name:
inventoryName:
inventoryProject Directory:
/home/student/apis -
Click the
Addbutton. At this point, the project builder will download and install the core dependencies for our Node.js microservice application.Please wait until the install completes and you are able to click on the
Finishedbutton.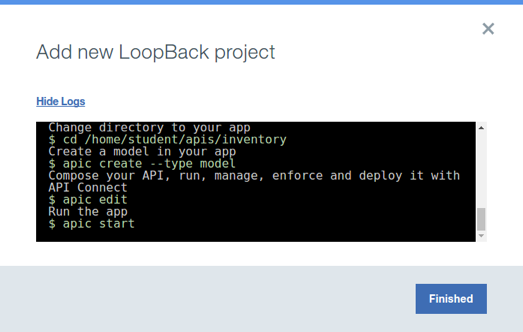
-
Once finished, the toolkit will change into your
inventoryproject and display your applications OpenAPI (Swagger) definition. Since we’re working with a Loopback-based project, you also have two additional configuration sections available:ModelsandData Sources.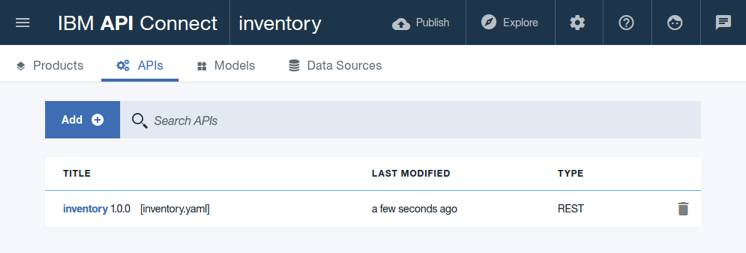
Continue
Proceed to Create a Data Source Connector.