In this section, you will create a new OAuth provider API and configure which grant type to use and how it will authenticate user credentials.
Create OAuth API
-
Return to the API Connect Toolkit tab in your browser.
-
Make sure you are still in the
inventoryproject.Click on the menu icon in the upper left-hand corner of the screen, expand the
Projectsoption and selectinventory. -
Click the
+ Addbutton and selectOAuth 2.0 Provider APIfrom the menu. -
Specify the following properties and click the
Create APIbutton to continue.Title:
oauthName:
oauthBase Path:
/Version:
1.0.0Important:
Make sure the Base Path setting is correct.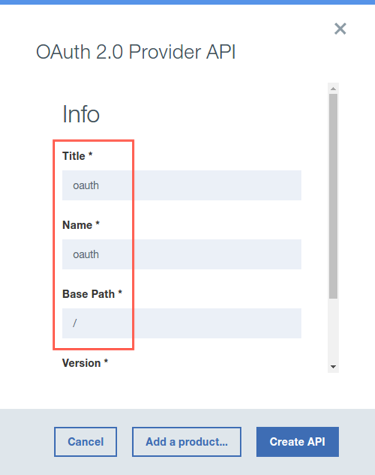
-
The API Editor will launch. If this is your first time using the API Editor, you will see an informational message. When you are ready to proceed, click the
Got it!button to dismiss the message.The API Editor opens to the newly created
oauthAPI. The left hand side of the view provides shortcuts to various elements within the API definition: Info, Host, Base Path, etc. By default, the API Editor opens to theDesignview, which provides a user-friendly way to view and edit your APIs. -
Use the palette on the left to navigate to the
OAuth 2section.Over the next several steps, we will set up OAuth-specific options, such as client type (public vs confidential), valid access token scopes, supported authorization grant types, etc. The OAuth 2.0 Specification has detailed descriptions of each of the properties we are configuring here.
-
For the
Client typefield, click the drop down menu and selectConfidential.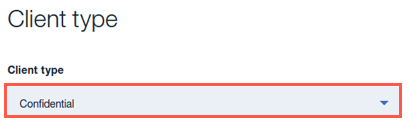
-
Three scopes were generated for you when the OAuth API Provider was generated:
scope1,scope2,scope3. -
Modify the values for
scope1, set the following fields:Name:
inventoryDescription:
Access to Inventory APIDelete
scope2andscope3by clicking the trashcan icons to the right of the scope definitions.Important:
The scope defined here must be identical to the scope that we define later when telling theinventoryAPI to use this OAuth config. A common mistake is around case sensitivity. To avoid running into an error later, make sure that your scope is set to all lowercase.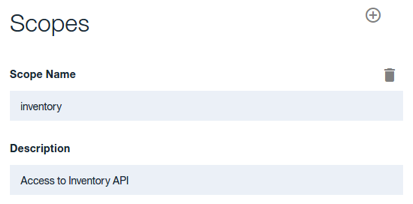
-
We want to configure this provider to only support the Resource Owner Password Credentials grant type. Deselect the
Implicit,ApplicationandAccess CodeGrants, but leavePasswordchecked.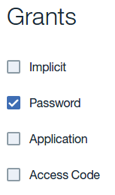
-
In the Identity extraction section, set the
Collect credentials usingdrop-down menu toBasic.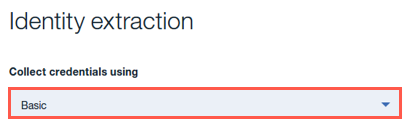
-
In the Authentication section, set the following fields:
Authenticate application users using:
Authentication URLAuthentication URL:
https://thinkibm-services.mybluemix.net/auth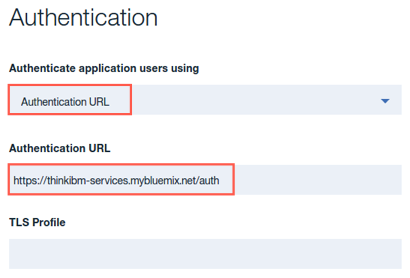
-
Scroll down to the Tokens section, turn off the
Enable revocationoption.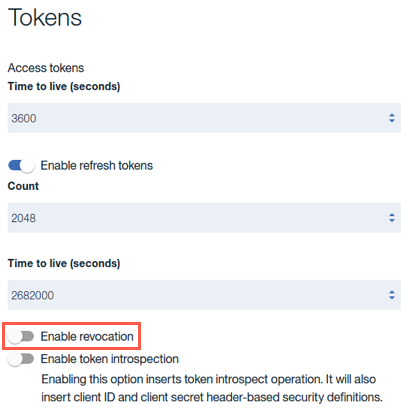
-
Click the
Saveicon in the top right corner of the editor to save your changes.
-
Click on the
<- All APislink to return to the draft API list.
Continue
Proceed to Create a New Version of the Inventory API.