Information about Lifecycle States
IBM API Connect provides capabilities for managing the lifecycle of your API Products. There are various states which an API Product can reside in, as well as controls around when you can move an API Product from one state to another.
The link below documents these states and how API Products flow from one state to another.
Open the API Connect Service on Bluemix
-
Log in to IBM Bluemix
-
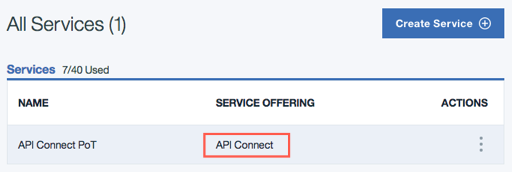
Locate and click on the API Connect service on your Bluemix dashboard to launch your SaaS instance of the API Manager.
Replace the Old Product
-
Switch to the Dashboard view:
-
Click on the Sandbox catalog tile to open the catalog configuration screen.
-
The
Productstab will list all of the API Products that this Catalog is currently managing.Notice that the
inventory 1.0.0product is in aPublishedstate. This product was built for you in Lab 1 when you generated your Node.js microservice application.Also notice that your new
Think Inventoryproduct is available in a Staged state. -
Click on the menu options for the
Think Inventoryproduct and select theReplace an existing productoption.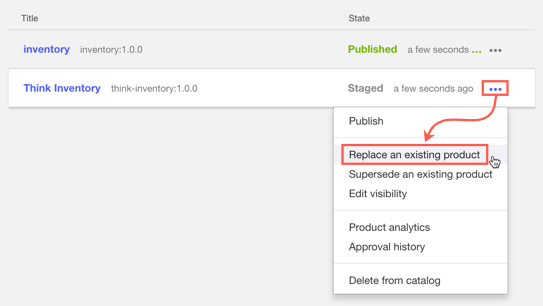
-
Select the
inventory 1.0.0product, since this is the one we are replacing. Then click theNextbutton. -
In order to maintain our consumers’ entitlements, we need to migrate their plan subscriptions.
Both of our Products have plans called
Default Plan, here you will choose to move subscribers from theinventoryProduct’s default plan to theThink InventoryProduct’s default plan.In the drop-down menu, select
Default Plan, then click on theReplacebutton. -
The API Manager will take care of retiring the old product and publishing the new one.
Continue
Proceed to Test the OAuth Configuration.